


The ease of installation, cost effective and low-cost maintenance makes them most contemporary floor finish worldwide. A ceramic tile will outperform and outlast almost any other floor covering product created for the same application.
Today, Maramani will guide you on the selection of tiles to layout installation and grouting.
When it comes to the selection of tiles, A lot of factors come into play such as durability, the area of installation, resistance to water etc
SELECTION OF TILES
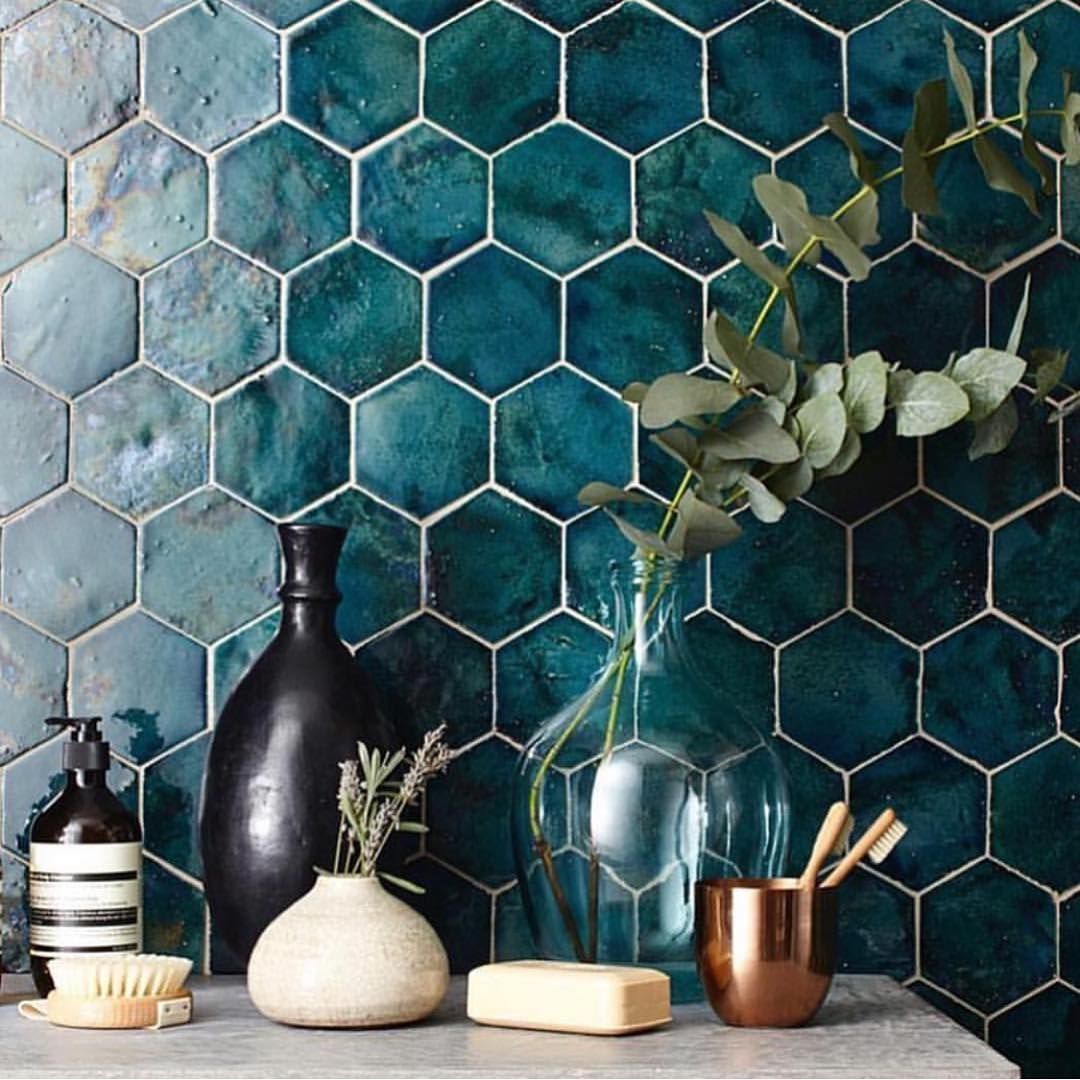
- Material - Tile materials are porcelain, ceramic, brick, marble, laminate, slate, mosaic and vinyl. All these materials are available in many colours and price ranges.
- Installation - Rooms such as the living room and kitchen require solid tiles that will last for long. Kids bedroom require tiles that will stand up to abrasion and substantial use as well.
- Durability - Whereas some tiles are resistant to wear and tear, some other alternatives such as granite and marble may be prone to cracks and staining. Before tile selection, carefully consider the foot traffic in the expected area of installation
- Resistance to water- In areas of tile fitting such as the kitchen and bathroom floors, some of the better options for tiles are materials such as marble, granite, mosaic or ceramic. However, you must also remember that the smooth finish on marble and granite can increase the likelihood of sliding. Slip resistant tiles are the best option, Hardwood and laminate are not good choices for the kitchen or bathroom
- Resistance to chemicals - Slates are hardy tiles and the best choice for areas with chemical handling
- Maintenance- The ease of cleaning or maintenance should be put into consideration, Ceramic tile is long-lasting and relatively easy to maintain. Glazed ceramic tile is generally resistant to stains, water, fire and dirt, and can be cleaned up with a damp mop or sponge and common household cleaners. Unglazed porcelain tile is popular for its natural look and chameleon properties, it is slightly more difficult to maintain and requires extra sweeping and damp mopping to prevent staining.
- Pricing - Well, the price should be in your budget
- Availability - In case of tile breakage long after installation, A similar tile should be readily available at the local depots
INSTALLATION PROCESS
- Prepare the surface - The subfloor should be free from dust and moisture for the best results of the tile installation process, In the case of a concrete subfloor, it is advisable to hack the floor before tiling.
- Create your layout - Find the centre of the room with diagonal methods then snap chalk lines between the centre points of opposite walls to pinpoint the centre of the room. Make any adjustments to ensure that the intersection creates perfect squares (Grids )
- starting at the centre point, lay a row of loose tiles along the centre lines in both directions, using tile spacers as you go for even, uniform joints. Once you reach the walls, you'll need to cut tiles for a fit. If the cuts needed are smaller than half of a tile, you can adjust the centre line by snapping a new line a half-tile size closer to the wall. If necessary, repeat this step along the intersecting centre line for a precise design.
- Apply Mortar Using the flat side of the trowel spread a 1/4" coat on the surface of one grid area without covering the guidelines, Then hold the trowel at a 45-degree angle and use the rough side to comb adhesive into standing ridges.
- Now that you've prepared the surface, created the layout, applied the mortar, and cut the tile, you are fully prepared for the actual installation of your tile.
Begin by placing tiles in the centre of the room, one grid at a time, finishing each grid before moving on to the next.Within each grid, it will help to start the first tile in the corner and work outwards.
Set tiles one at a time and avoid pushing them into place. Save the perimeter tiles in each grid for last, leaving a 1/4th inch gap between the tile and wall.
Once a grid is perfectly installed, tap on all tiles with a rubber mallet to guarantee a solid bond and level plane. Remove excess mortar from joints with a putty knife and from the tiles with a damp sponge to prevent an odd appearance.
GROUTING
Grout simply is a sealant used to lock the tiles tight, keeping water out and bonding the tiles together preventing the edges from cracking. Grout helps in controlling the functionality and durability of tiles and plays a major role in the day-to-day maintenance and the overall longevity of your tiles.
There are three methods when it comes to choosing the most suitable grout :

Matching grout: Matching the grout colour to the tile colour makes the grout lines less noticeable and therefore the tile itself is accented. This is the best option if you have over-the-top beautiful tiles with a basic layout.
Contrasting grout: A conflicting grout colour and tile colour will emphasize both the design and layout of the tiles, rather than the tile itself. Grout is a whole other design decision, therefore, gives it the consideration it deserves.
Blending grout: Blending works best on completely flat and mono-colour tiles but can also be used on tiles with a slight pattern or texture. The idea is to blend the boarders of the tiles to create the illusions of a continuous floor with little emphasis on boarders of each tile.
View our house plans for more floor tile inspiration :-)
- Team Maramani -

2 comments
Salem Tile Setters
Great overview topic—“A Guide to Tile Installation” is always valuable for DIYers and pros alike. Clear steps on prepping the surface, planning the layout, choosing the right materials, and taking time with cuts and spacing can make all the difference in achieving a clean, durable finish. A solid guide turns a daunting project into a smooth, confidence-boosting experience!
Tile Installers Portland Oregon
Great guide to tile installation! From prepping the surface to laying tiles with proper spacing and finishing with grout, each step plays a key role in the final look. Taking time to plan, measure accurately, and use the right materials ensures a clean, durable, and professional finish!
Leave a comment
This site is protected by hCaptcha and the hCaptcha Privacy Policy and Terms of Service apply.