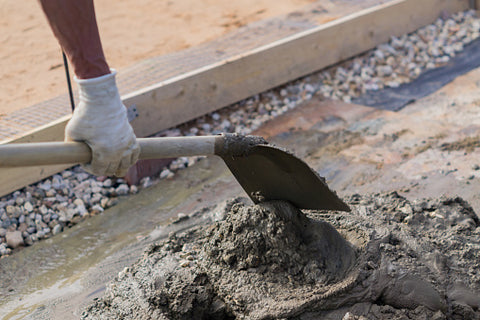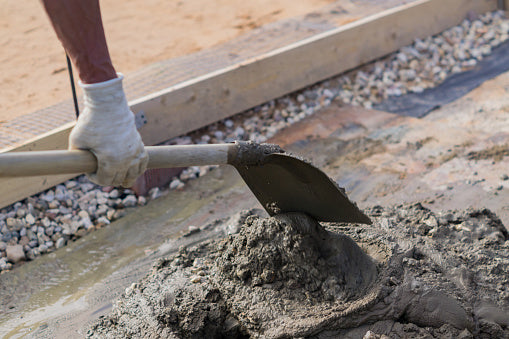
Observing a good maintenance culture in your home doesn’t always require hiring artisans to carry out every repair.
Sometimes, you can easily get jobs done by following simple procedures.
Concrete mixing is just one of those simple procedures. From time to time, you may need to patch up areas in the home or make some constructions using concrete.
Knowing how to mix concrete means you can easily do them yourself.
Concrete is simply a mixture of water, sand, stone, and cement. To form properly, you must mix it in an appropriate ratio. You need a wheelbarrow, shovel or spade, and some protective equipment such as hand gloves, nose masks, and boots to mix concrete at home.
The wheelbarrow can serve as your mixing ground and a means to transport the mixed concrete. You may also choose to mix the concrete on the floor and then use a head pan or wheelbarrow to transport it.
Step-by-Step Guide to Mix Your Concrete
1. Get the Constituents Ready

Image credit: techinfoguruji7.blogspot.com
When buying stone, sand, and cement to make concrete, the problem of the right quantity to buy may arise, especially if you’re inexperienced.
In this case, you can use a volumetric ratio of 1:2:3 to guide you in buying the constituents. This ratio means that for every quantity of cement you buy, you should buy double its quantity as sand and three times its quantity as stone.
If getting cement, sand, and stone individually proves difficult, search for premixed concrete.
Premixed concrete is a mixture of sand, stone, and cement without water. You just need to add the right amount of water, mix, and apply it to the needed area. As you get your sand, cement, and stone ready, ensure you have enough water supply. You might use more water than you think will be enough.
2. Dry-Mix the Concrete

Mixing is next after sourcing the constituents. Keep in mind that the mixing should be in the ratio of 1:2:3 for the cement, sand, and gravel, respectively. You can alter this ratio slightly, depending on the purpose of the concrete.
Follow this procedure for the mixing process.
Pour the sand
First, pour the sand on the platform you've chosen to mix the concrete constituents. You can use your wheelbarrow for a small mixture, and the floor (not the site where the concrete is to be poured) for a bigger mixture.
Remember to remove any foreign material like leaves, nylon, and papers you see in the sand. These objects may reduce the quality of your concrete.
Pour your stone on the sand
To ensure a proper mixture, roughly mix the sand and stone first before adding your cement.
Spread the cement evenly on the mixture
Avoid concentrating on a particular area when spreading the cement. It may take a longer time to get mixed properly.
Start mixing
First, gather the mixture into a heap (like a cone). Doing this will help the cement get mixed up with the sand a bit, thereby reducing the dusty nature of the cement. A skillful way of dry-mixing the concrete is by replicating the cone-shape mixture in a nearby cleared space. This method is highly recommended if your mixture is in a large quantity.
The sand, cement, and stone get mixed up faster as you re-heap the dry mixture to form a cone. For a small size mixture, you may decide to mix it by turning it over and over on the same spot. Once done, make a wide hole at its center.
Note that it should take at least two rounds or more to get a proper mixture. If you don't mix it properly at this stage, it may become harder to do so after adding water.
3. Prepare the Site for Pouring the Mixture
You have to prepare the site you'll pour the concrete before pouring water into your concrete and mixing it.
If you postpone preparing the site until after mixing the wet concrete, it will start solidifying. You may end up re-mixing a semi-solid concrete because preparing the site may consume a lot of time.
Hence, preparing the site will increase the quality of your work after you've poured the concrete.
Clear the debris
Remove grasses, dirt, and other objects from the site where you intend to pour your concrete.
Construct barricades
You must map out the specific region you will pour your concrete. Use planks or boards to define the area, especially if it's a slant region. The barricade will keep the concrete in form throughout the drying process.
Water the area
Water helps compact the soil and makes the concrete stick to it. If you want to pour the concrete on old concrete, wet the old concrete to allow the new concrete to adhere to it.
4. Mix the Concrete with Water
Image credit: constructionreviewonline.com
Add water to the dry mixture
Connect your hose to a water source and supply water to the hole formed in the center of your dry concrete. It's advisable to manually scoop water into the concrete if the concrete isn't a large quantity.
When using a hose, you risk over-watering your concrete, which may cause it to shrink when it dries. It will also reduce the quality of your job.
After pouring water, allow it to soak before mixing. If you’re time-conscious, you can do this step before preparing the site so that you’ll be busy preparing the site while the concrete is soaking up the water.
Mix properly
Start mixing as soon as the concrete has soaked enough water. Remember that you can always add more water to the cement as you mix. You have to be cautious of the amount of water you add at a time.
5. Pour on the Prepared Site
At this point, your concrete is ready for use. Sprinkle some water in an empty head pan or wheelbarrow and pour your concrete into it. The sprinkled water allows the concrete to flow out easily when pouring it on the site.
If there are leftovers of concrete after you've used the desired quantity, you should dispose of the remainder properly.
6. Clean-up
This is the last but equally important stage when mixing concrete at home. Beginning from the site where you mixed the concrete, clean the floor you used (if it's on a concrete floor) by pouring a generous amount of water on the floor and brushing it away. This step should be after scrapping off the remaining concrete.
If you carried out the mixing on the soil, sprinkle sand on the area so that anyone walking over it won't have their footwear damaged by the concrete.
Proceed to wash the wheelbarrow, head pan, boots, gloves, shovel, and any other equipment you used when mixing the concrete.
Tips to Help You Achieve a Better Result when You Mix Concrete Yourself
Image credit: u-cart.ca
1. Choose the right cement brand or quality
There are so many cement brands on the market, but the most popular is Portland Cement. Make an inquiry into the quality of Portland Cement products available in your area before deciding which one to buy.
2. Stick to the correct ratio
Avoid cutting costs by reducing the quantity of sand, stone, or cement used in preparing the concrete. It will only result in a poorly done job, costing you more expenses to redo.
3. Sprinkle water frequently
After you've poured the concrete, you still have to pour water on it frequently for at least a week. Doing so will help the concrete to solidify better.
4. Don't be in a hurry
It's possible that you managed to squeeze out time from your busy schedule to the job yourself. You have to be generous with your time while on the job. If you’re in a hurry, you may end up mixing the concrete poorly. You may also end up causing injury to yourself while using the shovel, head pan, or wheelbarrow.
5. Wear your protective equipment
Putting on your protective equipment allows you to mix the concrete without having to worry about getting stained or sustaining injuries. It also allows you to take comfortable positions when mixing and carrying the concrete.
6. Consider adding control joints
Control joints are cuts made into concrete slabs to allow the concrete to contract and expand with temperature changes. They will help prevent your concrete from cracking due to harsh weather. You can use a jointing trowel to make these joints on the concrete when it's still wet.


Leave a comment
This site is protected by hCaptcha and the hCaptcha Privacy Policy and Terms of Service apply.